Interfacing
Introduction
Why Firefly
I decided from the fourth week of this diploma to continue with grasshopper as a parametric tool.
Grasshopper includes a lot of plugins that could communicate with different software and applications. So you can make integration with different function with just one tool…
Also, my final project idea to make a kinetic façade which includes pattern that moves based on the opacity of the image.
I searched a lot in this point when I was in Advanced Maker Diploma, watched the series of processing that recommended from my instructor Ahmed Saeed in that time… the same time I started to watch a lot of projects with firefly and I’m feeling that there is a link between firefly and my concept but I can’t touch it!!
So, Finally… I got my point!
Image sampler… image sampler in grasshopper, I have been worked in this point from the third week of the diploma. So, you can check it out.
We can insert a picture in grasshopper with this component and chose the resolution that we want which will give us UV points, we can consider these Output points as another input values to any function that we want to do… scale the object, rotate, move… for any function…
On the other side
Firefly ‘which is plugin in grasshopper’ can communicate with the microcontrollers… So we can make animation or any visualization in real time with our devices.
I have been documented this part before in the interface and application programming, if you would like to take a look.
Atmega with Firefly
In the pervious week I decided to start with interfacing because it will affect in the electronics design.
I want to make a lot of panels to display my concept. But every panel is controlled by one servo. Also, we use Satshkit and the Satshkit has only 9 pins PWM that configured in Firmata library.
So every nine servos, we will make new board!
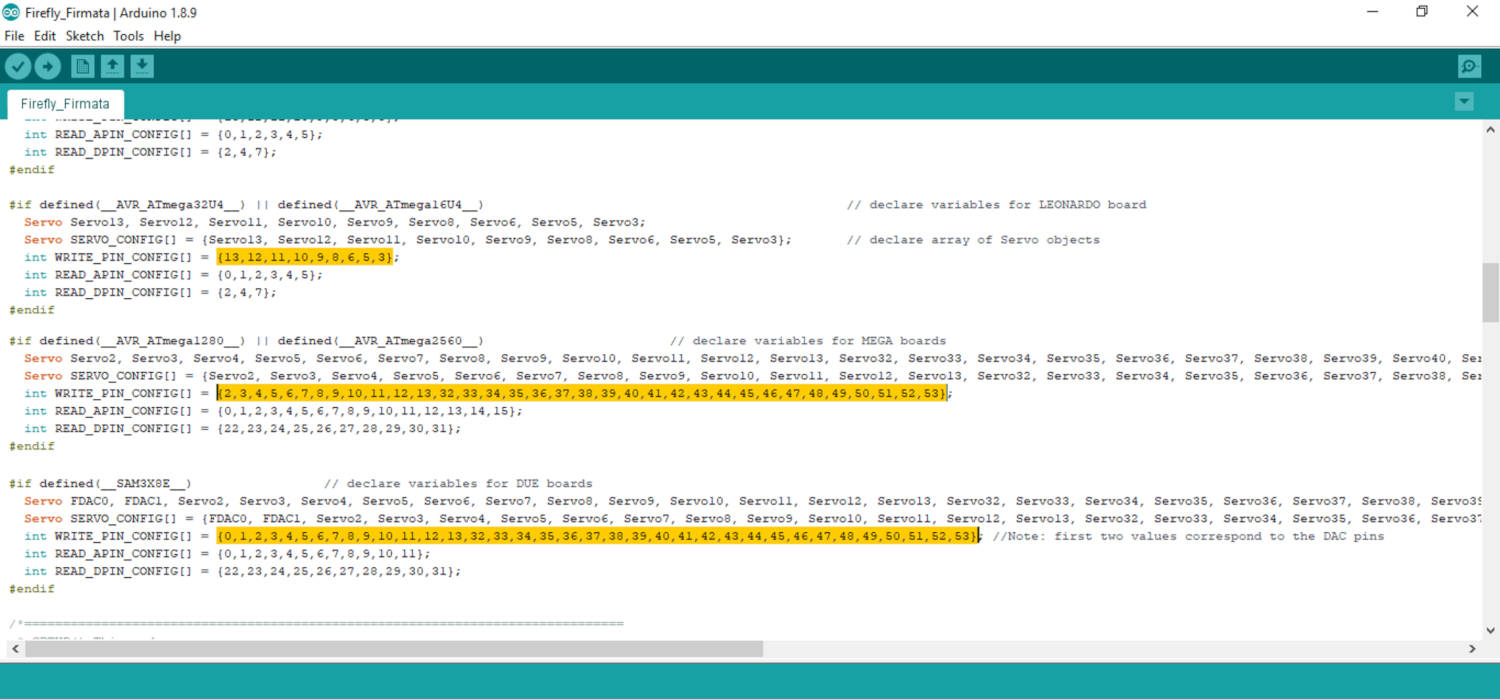
This makes me Open the Firefly Firmata Library and read more about the Atmega different PINs that configure in the library.
So I found that

- Atmega328 configure 9 servo pins.
- ATmega2560 that configure 34 servo pin
- SAM3X8E configure 36 servo pin
So, after that my search started in electronics design and what I need to fabricate my own board with ATmega2560
Firefly Connect With Touch OSC
- During my search, I saw this tutorial
Mobile App ‘Touch OSC‘ that connected with Grasshopper by Firfly and make a lot of amazing work.
-
archi Lab tutorial, Website link
-
maipatana channel, related projects.
Kinect with Grasshopper
Also, I wondered that when I saw this video from Champaign-Urbana Community Fab Lab.
It’s very simple example, So it encouraged me to think add this part in my project.
Test 9 Servos
I made a little test with my new Satshkit board to control in nine servos with Firefly.
-
First I start with the same process I have been done in Interface and Application week.
-
There is a little different in programming process for my board. Because of the design. Please check it.
-
Then I started to connect two servos, then I started to add one by one and test the movement.
I just want to make sure of my electronic design is working, also…
- The power, if it need anther power source or not.
- All servos are working.
- The movement of the servo as I want.
I was careful when I added a new servo, because I and Lamia burned about three servos before… But I wondered that the nine servos worked without any external power source!
The nine servos just powered from the VCC of my PC through the FTDI.
Now, We can use all three Satshkit with 27 servos in our fabricated model.